Prerequisites for Evotix Assure Single Sign On (SSO)
First ensure that the AD FS role is installed and functional on the Windows server. Also ensure that SSL is enabled on IIS and ensure that port 433 is accessible externally.
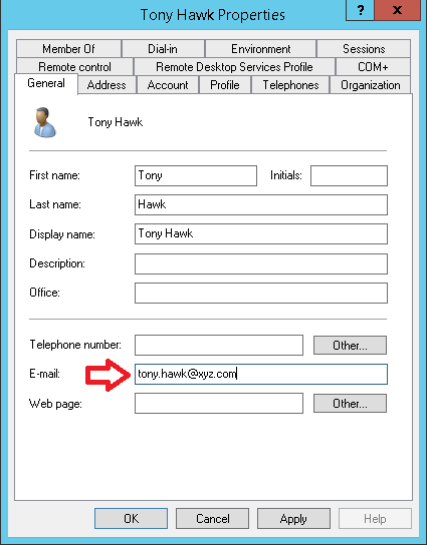
In Active Directory, ensure that the E-mail field is populated for each user account:
Verify that your AD FS solution is accessible externally by accessing the following URL: https://fullyqualifieddomainname/adfs/ls/IdpInitiatedSignon.aspx
Replace fullyqualifieddomainname with your own domain name. You will be asked to sign in to your domain account.
If this is successful, you will be signed in. If you are not able to sign in, please review your configuration before continuing.
Configuration of Evotix Assure ADFS application
Please follow the steps below to configure SSO access on Evotix Assure:
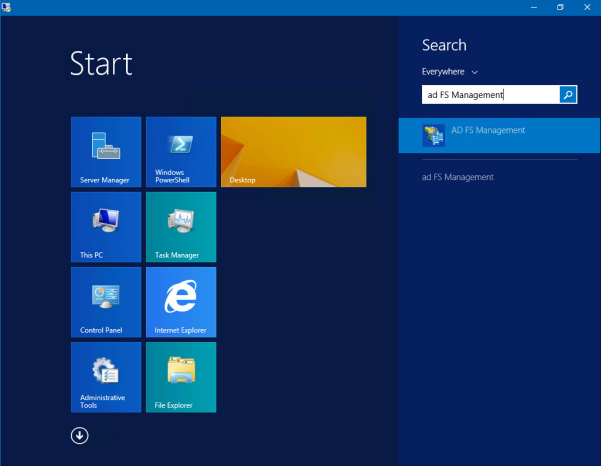
Open the AD FS Management application.
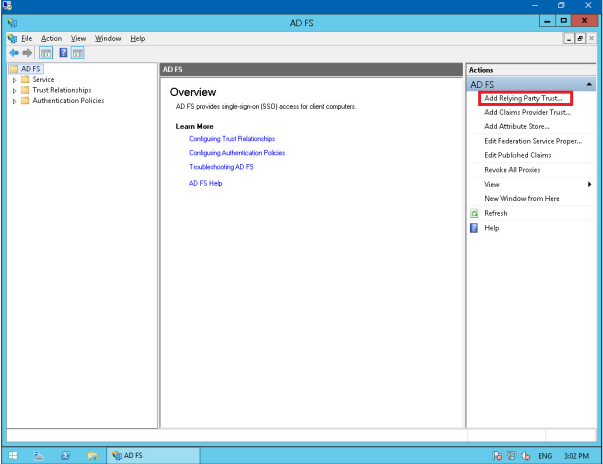
In the AD FS Management application, click the ‘Add Relaying Party Trust…’ link on the right hand pane.
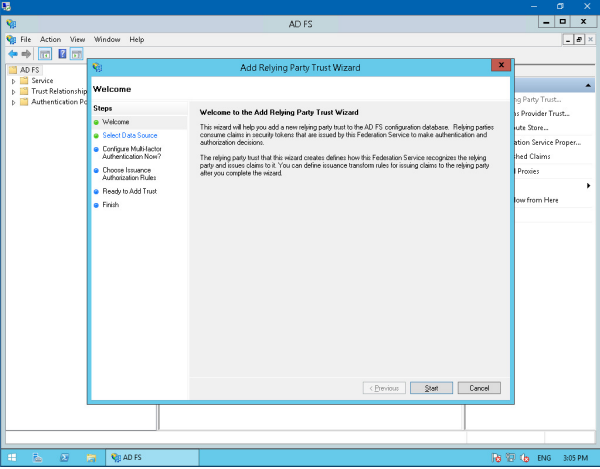
Begin by clicking Start.
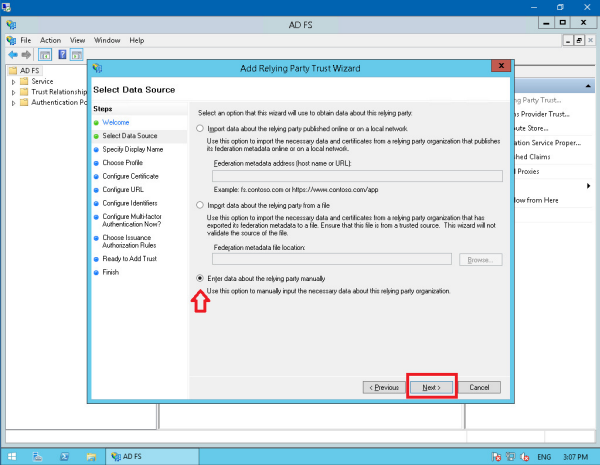
Choose the option to ‘Enter data about the relaying party manually’, click Next.
Create a Display name, Click Next.

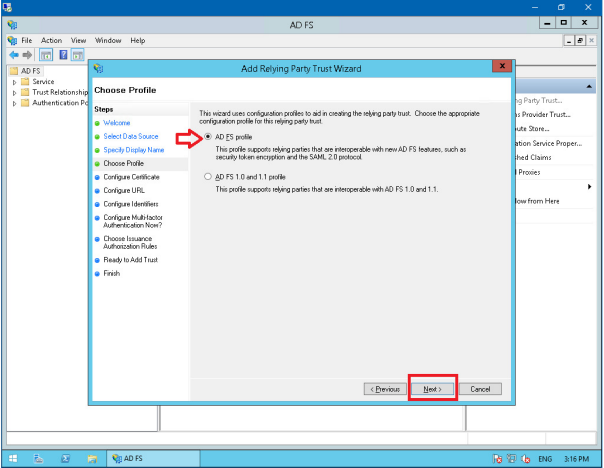
Choose the first ‘AD FS profile’ option, click Next.
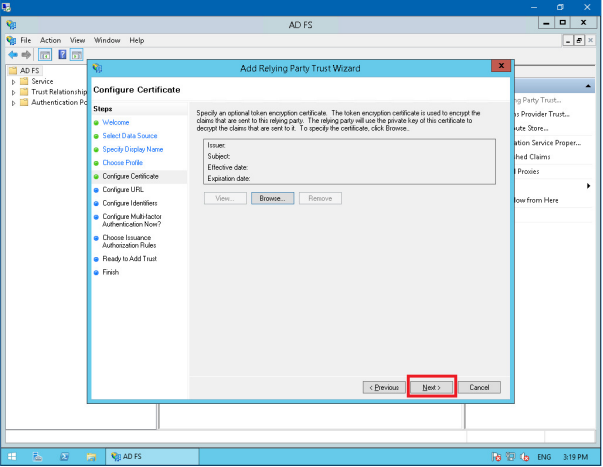
Click Next if you are asked to specify an optional token encryption certificate.
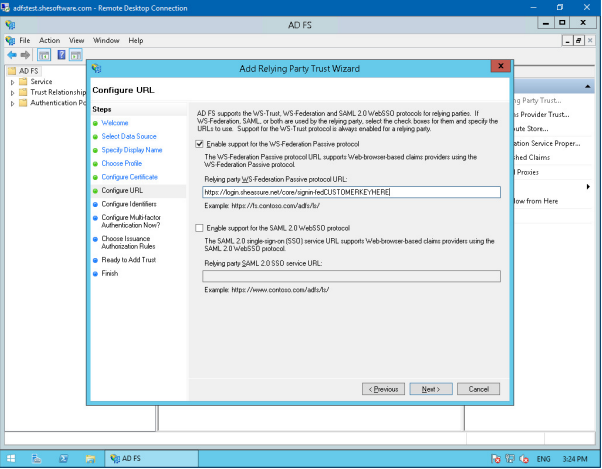
Ensure that the ‘Enable support for the WS-Federation Passive protocol’ box is ticked. In the ‘Relying party WD-Federation Passive protocol URL’ box, enter the following URL:
https://ids.uk2.sheassure.net/core/signin-fedCUSTOMERKEYHERE
Replace CUSTOMERKEYHERE with your Evotix Assure site name. This will be the customer key in the https://uk2.sheassure.net/CUSTOMERKEYHERE URL.
Click Next.
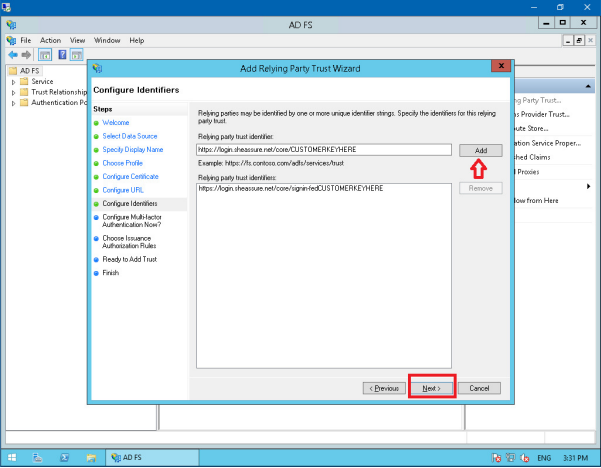
In the ‘Relying party trust identifier’ text box, enter the following URL:
https://ids.uk2.sheassure.net/core/CUSTOMERKEYHERE
Replace CUSTOMERKEYHERE with your SHE Assure site name. This will be the customer key in the https://uk2.sheassure.net/CUSTOMERKEYHERE URL.
Click Next.
Choose the option for ‘I do not want to configure multi-factor authentication settings for the relying party trust at this time’, click Next.

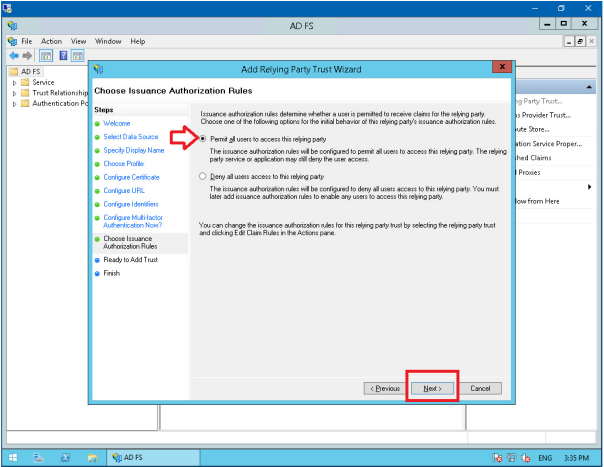
Choose the option ‘Permit all users to access this relying party’, click Next.
Click Next.

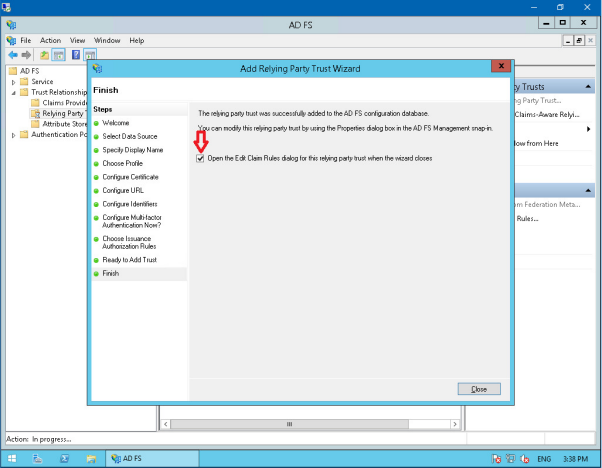
Ensure that the ‘Open the Edit Claim Rules’ check box is ticked, click Close.
You will now see the Edit Claim Rules screen, click the Add Rule button.
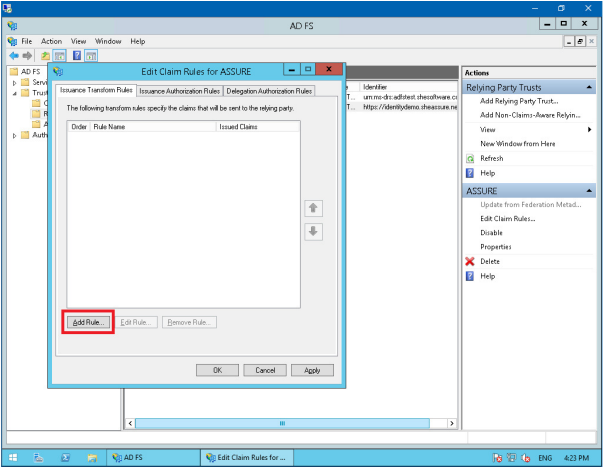
Ensure that ‘Send LDAP Attributes as Claims’ is selected as the Claim rule template, click Next.
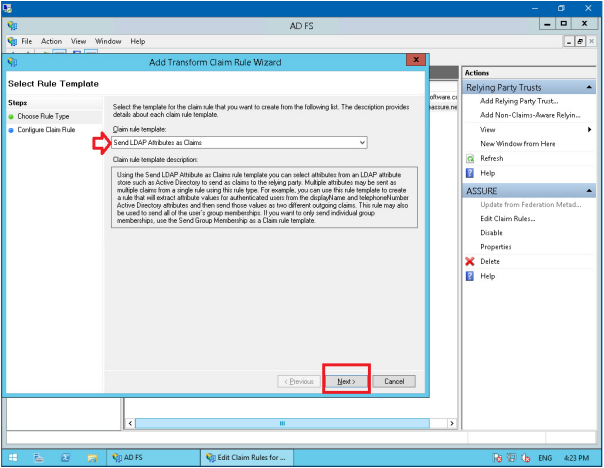
Ensure that the settings in the screen match the one in the below screenshot. Click Finish.

Once the above steps have been completed, test the following URL:
https://fullyqualifieddomainname/federationmetadata/2007-06/federationmetadata.xml
Replace fullyqualifieddomainname with your own domain name, you should be able to download an XML file. If this is successful, please send the above URL to us with your correct domain name that will be used for the SSO implementation.